Creating a Board Outline in Cadence PCB Editor
What is a board outline?
A board outline is the outermost boundary of a printed circuit board design. It is used by the PCB manufacturer to cut the printed circuit board to the specified size and shape.
How do you create a board outline in Cadence PCB Editor?
-
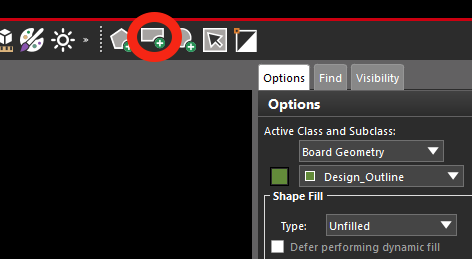
In PCB Editor, select the rectangle tool in the toolbar (see Figure 1).
Figure 1: Rectangle tool -
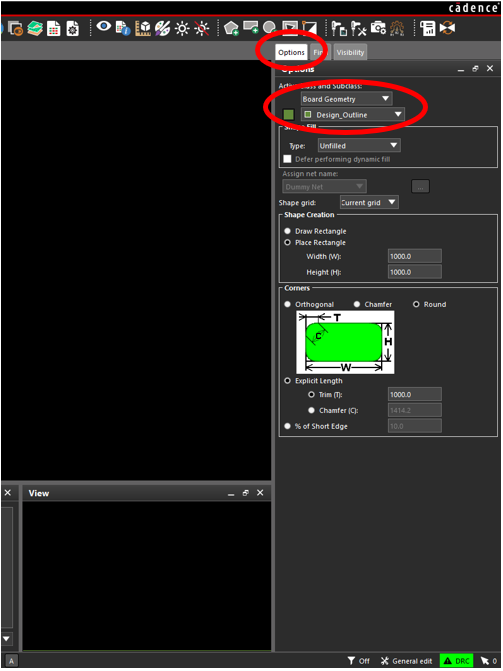
In the “Options” tab on the right side of the screen, make sure “Active Class and Subclass” is set to Board Geometry and Design_Outline (see Figure 2).
Figure 2: Active Class and Subclass options -
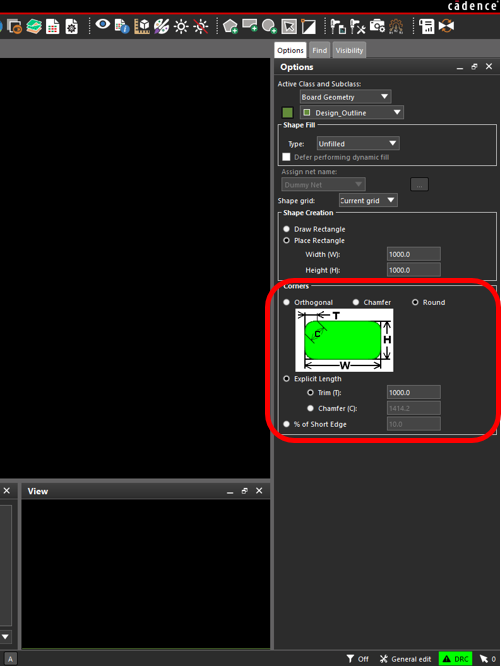
If you would like to change the type of corners on the board, you can change them in the Corners section of the Options tab (see Figure 3). Options include orthogonal (90 degree), chamfer (sloping edge), and round (curved).
Figure 3: Corners options -
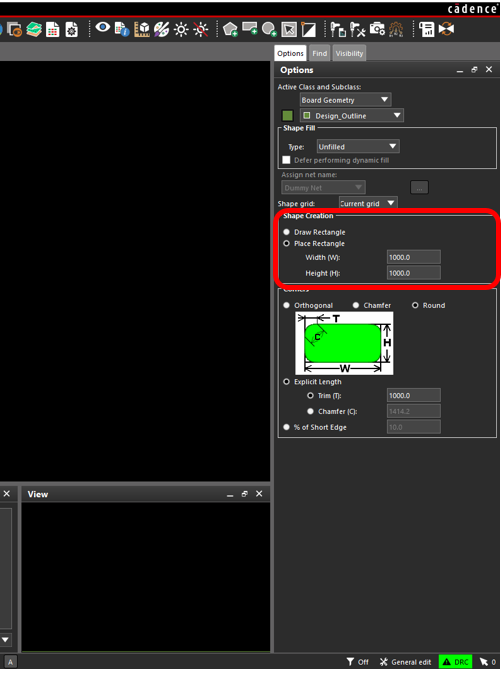
In the Shape Creation section of the Options tab, choose “Place Rectangle” and enter the width and height for the board outline in mils (1 mil = 0.001"; 2000 mil = 2") (see Figure 4).
Figure 4: Shape Creation options -
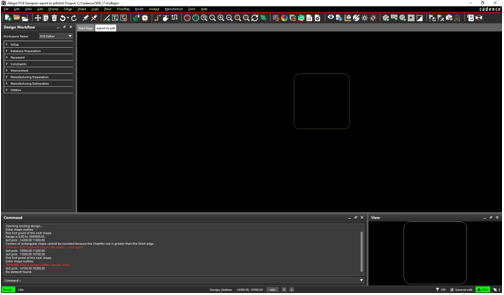
Place the rectangle on the board design (see Figure 5).
Figure 5: Board Outline Placed -
Choose Setup > Change Drawing Origin and click in the lower left-most point of the board outline. Your board outline is now complete!
Based on a tutorial by Seana O’Reilly
